Our project for this issue planned itself. Editor Hall picked up this 1988 BMW R100RS late last summer. At some point over the winter, he noticed a spot of fluid on the floor and quickly figured out it wasn’t engine oil, but brake fluid. The front brake master cylinder was weeping fluid and it was dripping into the inside of the fairing, and eventually to the shop floor. Not good. And since seals don’t heal themselves, for this How-To we will be rebuilding the master cylinder on this R100RS, and we thought you, dear reader, would like to see what goes into the fixing, as there are a lot of these Eighties Beemers still on the road, and frankly the process is very similar for most master cylinders.
Once we removed and disassembled the cylinder, we found that it had developed a decent leak at the plunger. Any kind of leak in the brake system is concerning, so we’ll get this sorted before it becomes a safety issue. We’ll be using a parts kit from Euro MotoElectrics and brake fluid by Spectro. As always, it’s good to have a factory shop manual on hand just in case. Let’s jump in and get started.
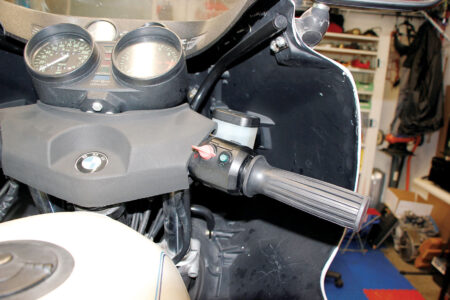
1. I’m sure there are fans of these short bars, but I’m not among them. They make it a real challenge to get the bike up on the lift. I think these might even be shorter than the stock bars for this model.
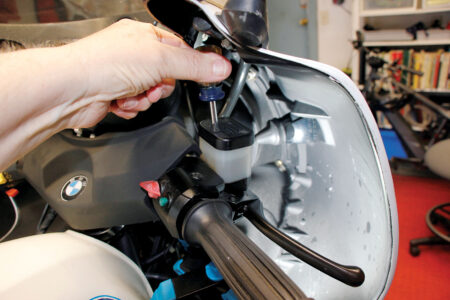
2. We’re going to remove the master cylinder reservoir cap and pump out the brake fluid so we don’t drip it all over the bike. With hindsight, it would have been easier to do this off the bike. We could have just left the cap on and removed the whole thing as a unit.
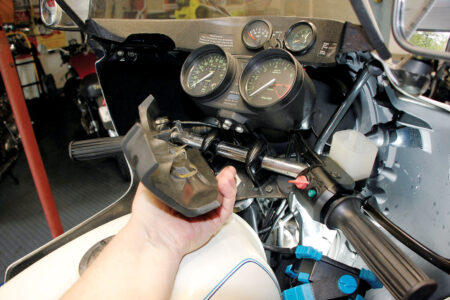
3. This foam dash is just held on with clips, so it comes off with a little persuasion. With it removed we have clear access to the brake line and throttle cables.
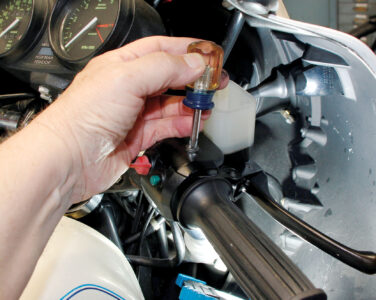
4. Next we have to remove the cables to the carburetors, which will free up the throttle grip. One large Phillips screw holds the throttle gearing and cable pull in place. Pay close attention to the positions of the throttle grip, gear assembly and pull chain. It will be important to put them back in the same positions.
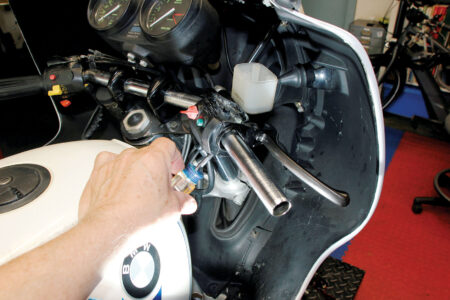
5. With that out of the way, the front electric controls are held on with one Phillips screw.
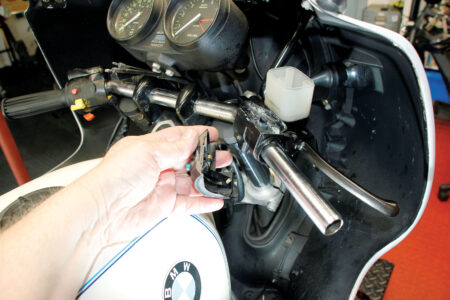
6. Tuck the switches and wires out of the way so you can loosen the hex screw holding the brake assembly on the handlebar.
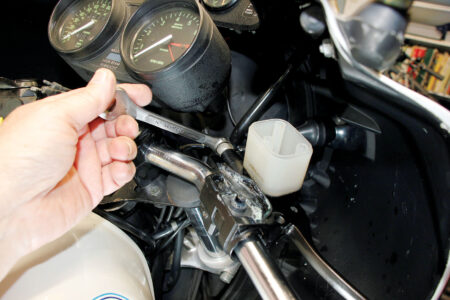
7. Before you loosen the whole assembly, loosen and remove the banjo fitting at the master cylinder. Have a rag handy to catch any drips. Use a 14mm wrench to loosen.
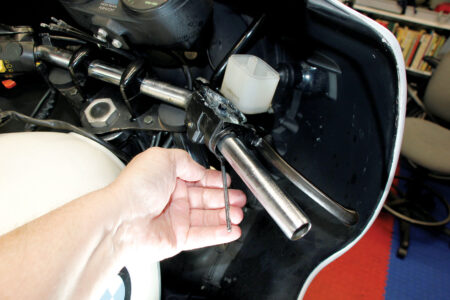
8. A 4mm hex key will fit the one screw that clamps the assembly to the bars. It’s a simple squeeze clamp assembly, so you only have to loosen it enough to allow the brake assembly to slip off the end of the bar.
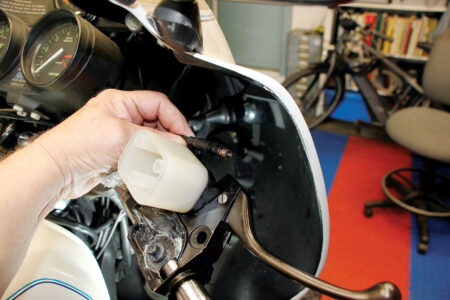
9. Last thing before you can pull the assembly off, you must unscrew the brake switch. The cable is long enough that you can unscrew the switch without kinking the wires. Remember this when you reassemble, as you must twist the cable before screwing the switch back in.
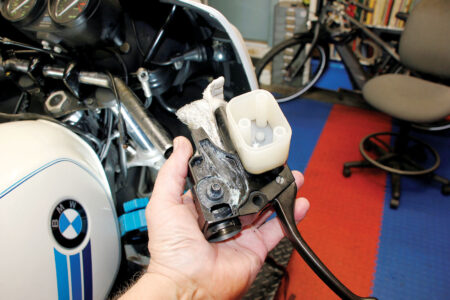
10. All off the handlebars and over to the bench to be rebuilt.
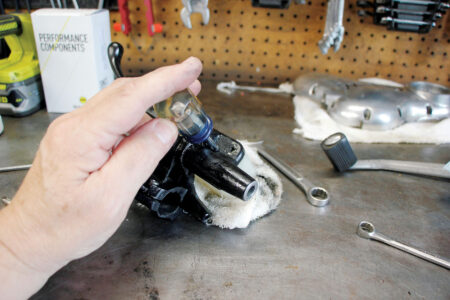
11. One Phillips head screw holds the fluid reservoir to the cylinder. The reservoir is sealed by an O-ring so you can just pull the reservoir up and off the cylinder after removing this screw.
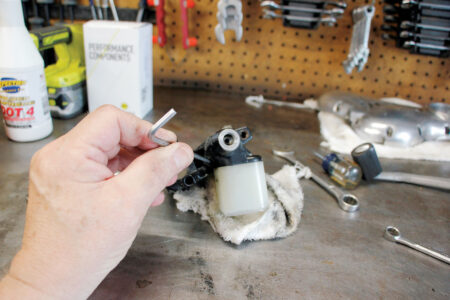
12. The master cylinder is held to the throttle assembly by two 4mm hex screws.
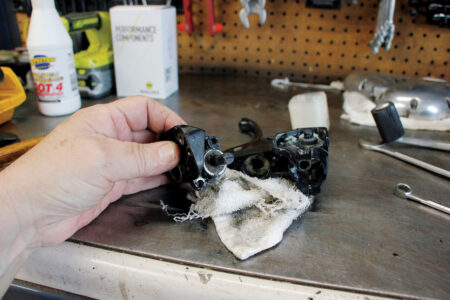
13. Here it is removed from the throttle assembly. It’s been seeping fluid for a while as evidenced by the crusty buildup of dried brake fluid.
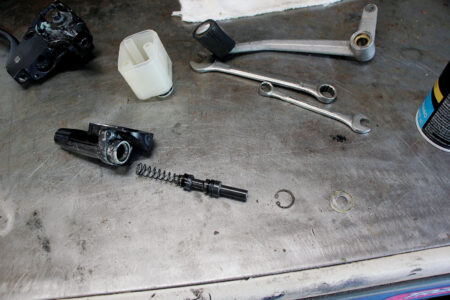
14. Using snap ring pliers, remove the snap ring that holds the piston in the cylinder. Carefully pull the old master cylinder pump out of the cylinder.
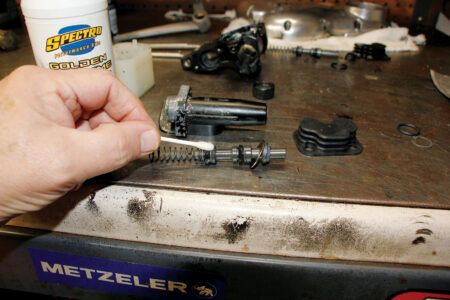
15. The new pump assembly comes built, saving you the trouble of forcing the seals over the actuator shaft. With a little brake fluid, lubricate the piston seals on the new piston assembly. Remove the washer and final seal at the far right, shown here for completeness.
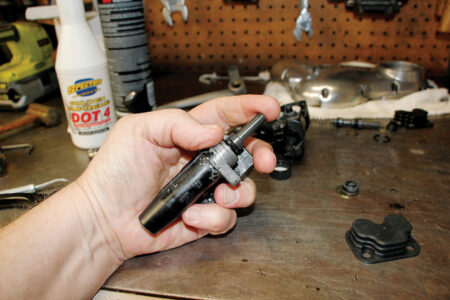
16. This is really a two handed job, but then I’d need a third hand to hold the camera. Anyway, carefully press the new piston into the brake fluid lubricated cylinder with a twisting motion to help ease the seals in the bore.
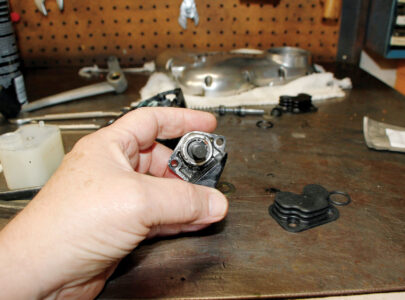
17. Snap ring pliers are used to install the new retaining ring. With this type of stamped ring, it’s considered best practice to install the sharp edge of the ring facing the direction of spring pressure, facing us in this picture.
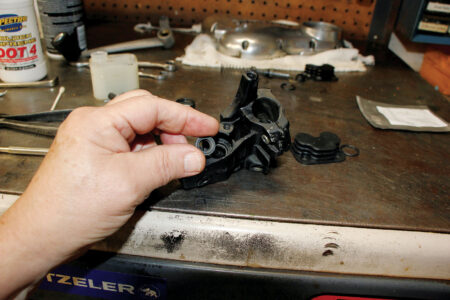
18. Now we’ll make use of the washer and seal we removed three steps ago. The seal goes into the body of the brake control assembly, and the orientation of the seal is obvious from the shape of the recess it fits.
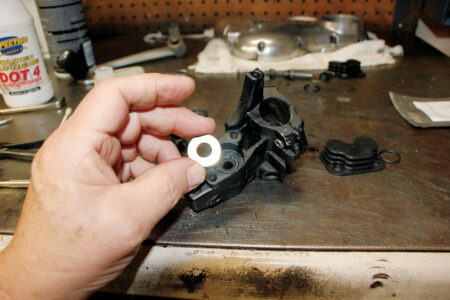
19. Then the washer goes over the seal, fitting between it and the master cylinder itself. The kit comes with grease that can be used to stick these parts together for easier assembly.
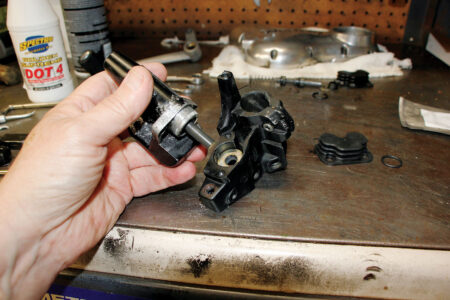
20. Now reinstall the master cylinder in the throttle assembly, using some of that same grease to make it easier. Reinstall and tighten the two 4mm hex screws that hold it together.
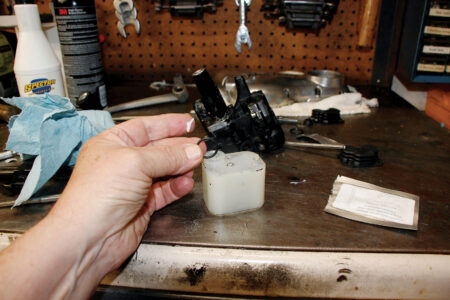
21 Put a new O-ring on the reservoir, again with the grease.
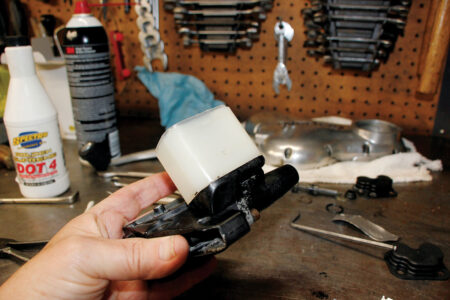
22 Re-assemble the reservoir to the cylinder, securing it with the Phillips screw we removed earlier.
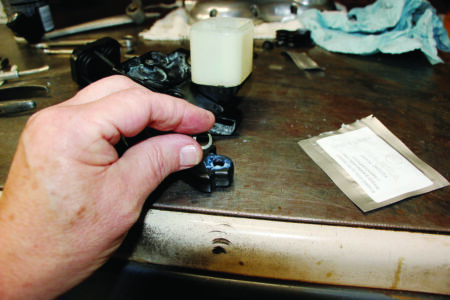
23. We removed the brake lever to clean out the crusty brake fluid residue, so we need to stick the wave washer back in place before reinstalling it. That grease is really all purpose.
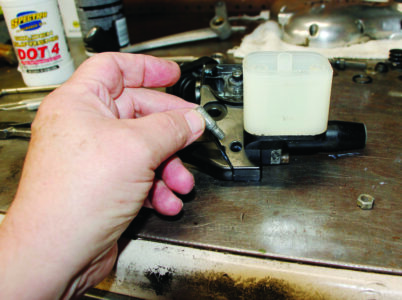
24. Push the pivot pin back through the assembly. Hold the pin with a screwdriver and lock the 10mm nut against the assembly.
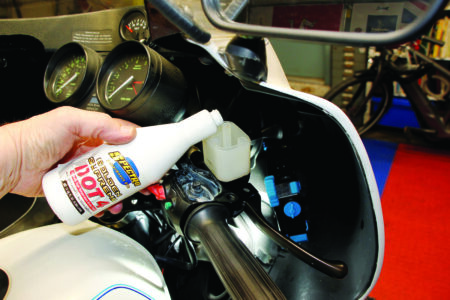
25. Once it’s back on the bike, reconnect the brake banjo using new crush washers. Fill the fluid reservoir with fresh brake fluid and bleed the brakes using your preferred method. Reassemble all the electrics and throttle cables and you’re done.
The Essential Buyer’s Guide to BMW Boxer Twins: Feel confident when choosing your secondhand bike with advice from marque expert Peter Henshaw
There are plenty of books about the classic BMW Boxers, but none of them concentrate entirely on telling you what to look for when buying one secondhand. That’s what this book is about — it is a straightforward, practical guide to buying a used Boxer twin. Point by point, it takes the reader through everything that needs looking at when buying a Boxer, plus spares prices, which is the best model to buy for your needs, and a look at auctions, restorations and paperwork. You can be a part of the Boxer’s ongoing story. This title is available at the Motorcycle Classics store or by calling 800-880-7567. Item #10835.


