Have you heard the old joke about how to get to Carnegie Hall? Practice, practice, practice! Well, something similar can be said about how to get professional paint results from spray cans, but here the trick is preparation, preparation, preparation.
In this How-To we’ll show you just how you can get durable professional results from modern spray cans, and how to do so safely. Cans of Eastwood’s new 2K Aero-Spray Epoxy Primer ($25 per can) and 2K Aero-Spray Chassis Black paint ($25 per can) plus shipping are available on the Eastwood website. Clear coat is also available. Get a paint respirator ($25) from your local big box home improvement center, along with some blue painter’s tape. You should always use a respirator when painting, and this is especially important when you are using epoxy-type paints.
Wear rubber gloves if you don’t want to spend time scrubbing paint from your hands. Old clothes will keep the inevitable overspray from ruining your favorites. If you don’t have a dedicated paint booth, then pick a calm day, open up the garage and build a cardboard three-sided booth to reduce overspray and keep dust off your painted parts.
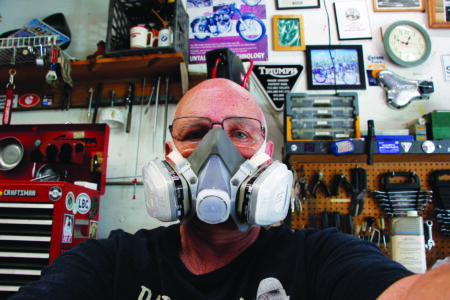
1.) Safety first! You may look silly, but it’s important.
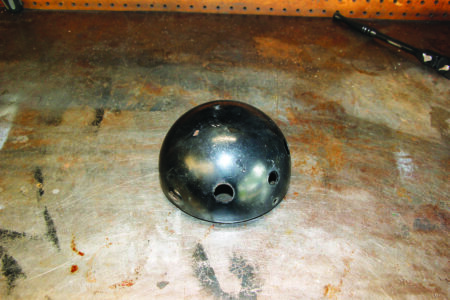
2.) Here’s the headlight bucket from my Triumph. Other than touch-ups over the years, it’s probably original paint. The media blaster booth will take all that off fast and efficiently.
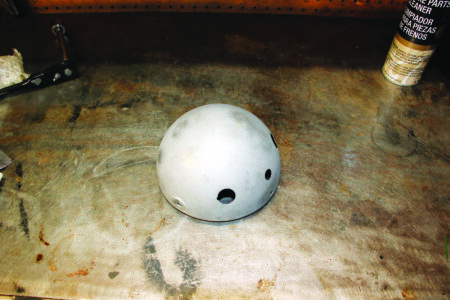
3.) It’s necessary to remove all the old paint first, we’ll do that using the blast cabinet we have from TP Tools. Once the paint is removed we’ll inspect the parts and clean them again with chemical cleaners. Just before we paint we’ll do it again with a chemical cleaner.
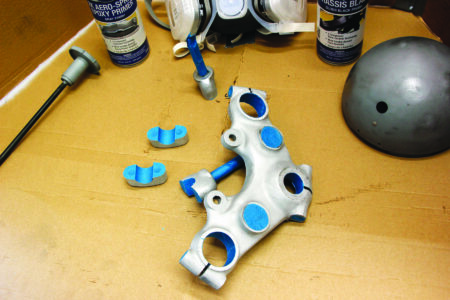
4.) Time for surface prep. Mask off any surfaces that you don’t want painted, like threaded pieces or clamping parts like the top of this Honda CB450 steering yoke.
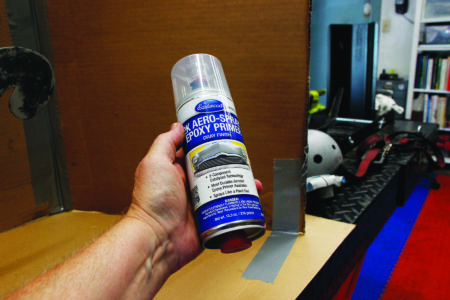
5.) We’ll be using Eastwood two-part spray paints. These differ from the usual rattle cans in that they have an epoxy activator. Once activated you have about 48 hours to use that paint in the cans, so it pays to plan ahead and have all the parts you want painted ready.
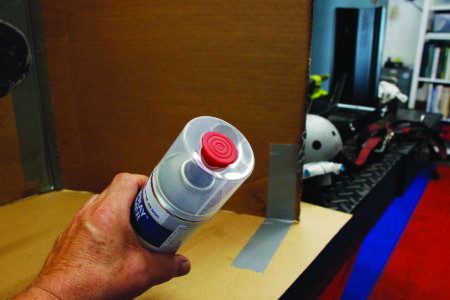
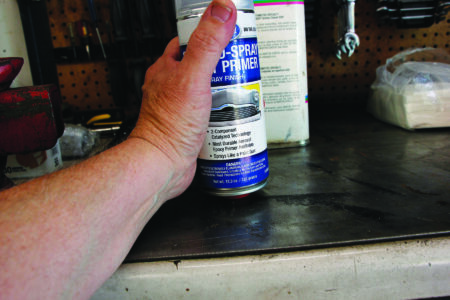
6.) To activate the paint, first shake the can well for three minutes.
7.) Remove the red button from the top of the can and place it over the stem on the bottom of the can. Press firmly to puncture the can within the can, releasing the epoxy activator for the paint. Shake again for three minutes to thoroughly mix the activator with the paint. Once you do this, you have 48 hours to use the spray can.
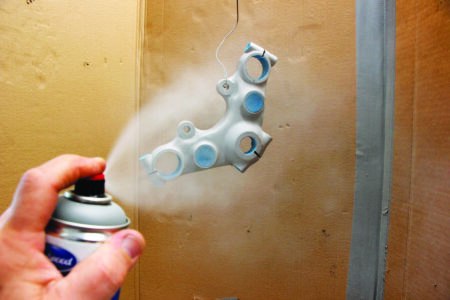
8.) After final chemical cleaning of the parts, primer them. Move the can parallel to the part. Start spraying before you reach the part and stop after you’ve passed the part. Many light coats are better than one heavy saggy coat. The same technique is used for the gloss black paint.
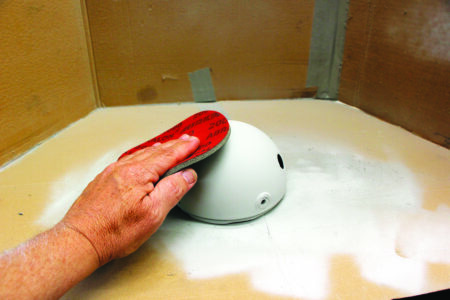
9.) Between coats, when dry enough, sand out any spatters with foam-backed wet and dry paper of 2000 grit. Again, this applies to the gloss black finish paint.
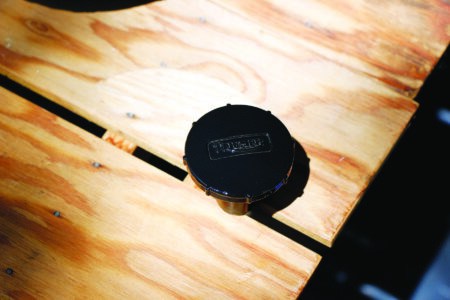
10.) Resist the temptation to use the absolute last of the paint in the can, as delivery pressure and spray pattern suffers as the can is exhausted. This part took a little extra effort because I was trying to use the dregs of a can.
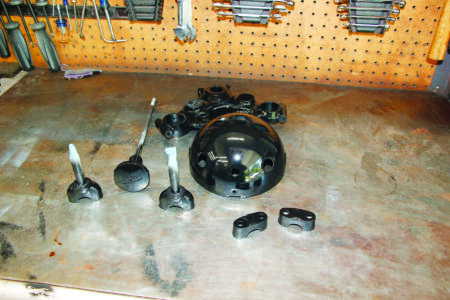
11.) The final product. It looks good. Primered over two days (life of the can), then painted over two days (same).
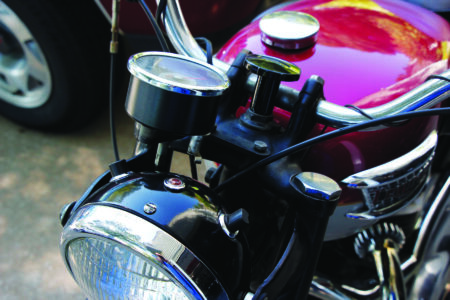
12.) The finished parts back in place on my Triumph. Now the rest of the top looks like it needs work. Time to buy more paint!MC


